4 Ways on How to Trace on Felt for Embroidery
This post contains affiliate links, which means I may earn a small commission at no additional cost to you if you click through the link and make a purchase. For more information, click here.
Felt is such great material for your felt crafty projects! It is easy to work with and comes in many colors. I love to use it for kids’ crafts as well. For your next project, you may want to embroider a design on the felt to add details. To do that, you can trace an outline onto felt in various ways, and one of those might become your favorite. This article shows 4 ways on how to trace on felt for embroidery and one unique technique on how to transfer an image. There are brief explanations for each method, their steps, and pictures. The best choice of technique may depend on the complexity of the transferred design or the color of felt being used.
In Fun Cloth Crafts projects, I apply tracing when I want to embroider a pattern onto felt. I tried these techniques in the finger puppets project Woodland finger puppets, where I do embroidery for the face details; for example, eyes, mouth, and snout. I use a pencil and self-erasing marking pen to draw on felt, but I am looking forward to trying different pens for my next post. I would recommend checking your tracing tool on a scrap of fabric before proceeding to the actual tracing.
If you like to cut your felt shape before tracing a design, you can read many tips in 6 TECHNIQUES ON HOW TO CUT OUT FELT, including freezer paper technique. To learn basic hand embroidery stitches that I use on felt read more in 9 HAND EMBROIDERY STITCHES FOR FELT.
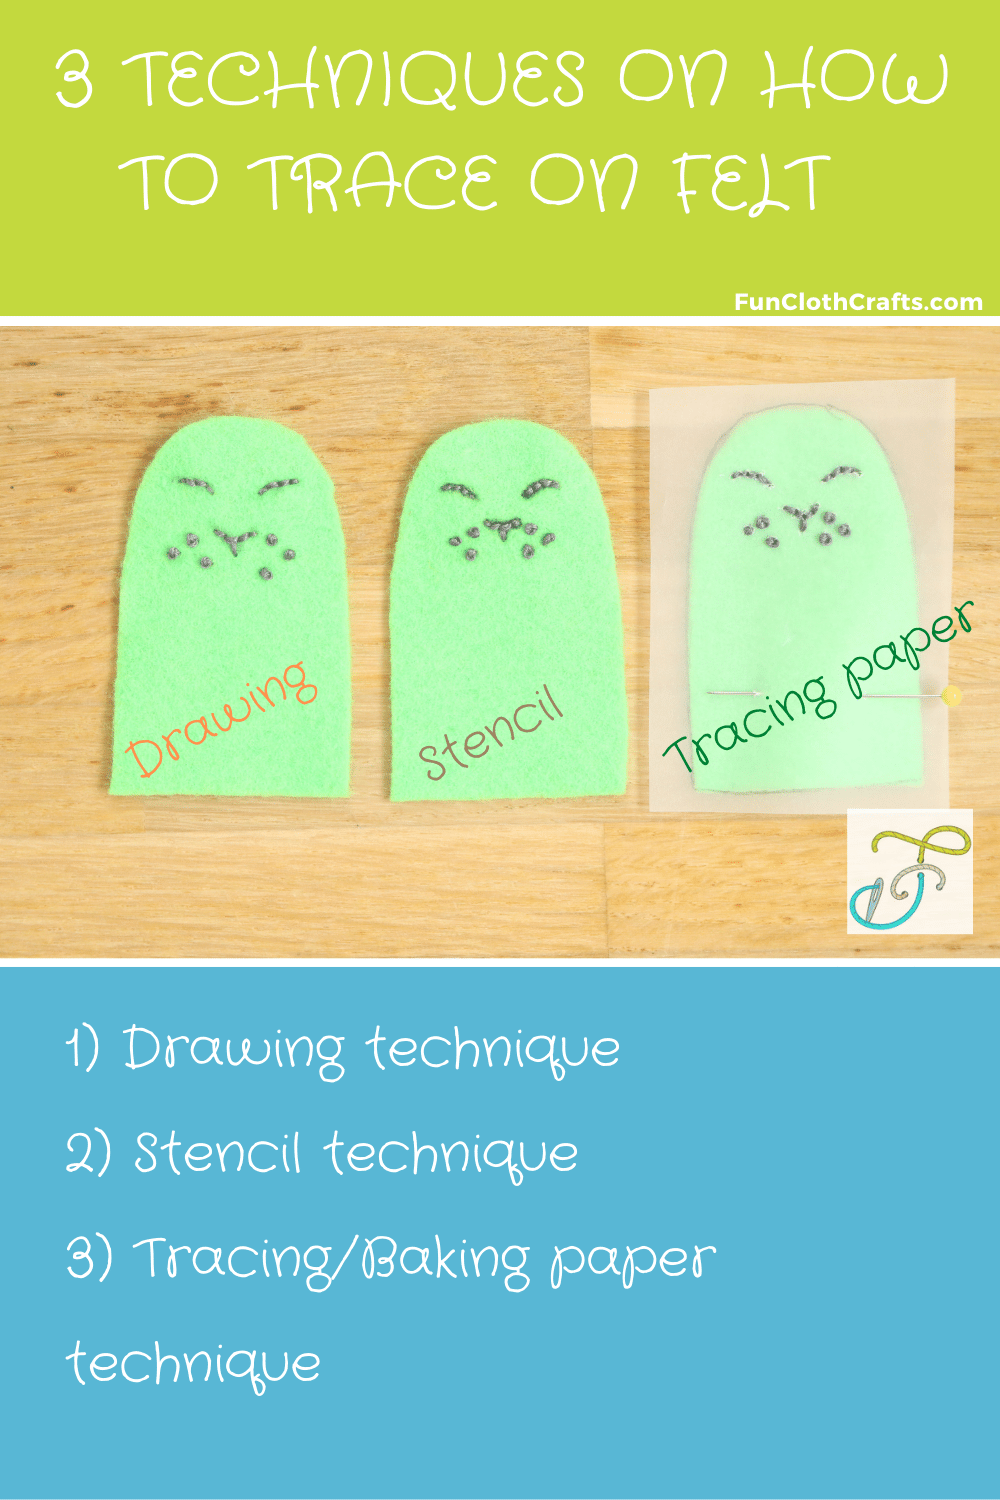
4 Ways on how to trace on felt for embroidery
How to trace on felt – Supplies Needed
Download and print your template on paper or freezer paper (choose from over 40 free patterns for felt)
Felt – a piece a bit larger than your template size. Find great felt at Benzie Design or find more buying options in the Types of Felt section of the How to Sew Felt blog post
Scissors with pointy ends (KAI 5 1/2 inch embroidery scissors are my favorite ones)
Embroidery thread to match (DMC Embroidery floss pack gives all the basic colors)
Hand-sewing needle (CLOVER Embroidery needles are a good choice)
A tool that marks on the felt
Tracing or baking paper for the tracing paper technique (I usually keep the thin papers from shoe boxes and use them)
The drawing technique to trace on felt
In the drawing method, you trace the pattern you want to embroider directly onto the felt with a fabric marker or other pen that marks on felt. It is a simple technique if you can copy the designs well onto the felt piece. Depending on the pen used, you may need to make sure that the thread completely covers the design so that the traced line is not visible when your project is finished.
I like this method for simple line designs, where a little imperfection doesn’t matter. However, I find it challenging to use for some designs, where precision is important. For instance, tracing 2 dots for eyes in the finger puppet designs might look funny if done imprecisely. Then, you could end up with one eye up and one eye down. For that, I prefer to use one of the other techniques.
Gingermelon took the drawing technique to the next level, where she marks a grid onto the felt to help draw the facial features before embroidery. She also includes the grid in her patterns.
You first draw the grid onto the front piece of felt.
Then, you draw the shapes with the grid as support.
In these free bunny and kitty tutorial from Gingermelon, you can see the technique in the photos.
STEPS FOR TRACING ON FELT BY DRAWING
Have a template available
Following the template, draw the shape onto the felt using a pen (pencil, fine liner, or water erasable fabric marking pen).
Embroider the design

The stencil technique to trace on felt
In this technique, you make your own stencil to reproduce a design onto the felt for embroidery. You first need to draw or print the original design onto a piece of paper. Next, cut through the lines where you want to trace (effectively turning the paper into a stencil). You can do that with small sharp pointy scissors or a craft knife cutter. Another option is not to cut the complete lines in your embroidery pattern but prick the pattern with a pin at regular intervals. Then, you trace through the openings of the stencil. If you use freezer paper, you can iron it on your felt piece before starting to trace.
STEPS FOR STENCIL TECHNIQUE TO TRACE ON FELT
Print or trace the template on paper or freezer paper
Cut or prick through the lines you want to trace
Trace the pattern (stenciling) onto the felt through the openings with a fabric marker (it can also be other pens if you don't have a fabric marker)
Embroider the design

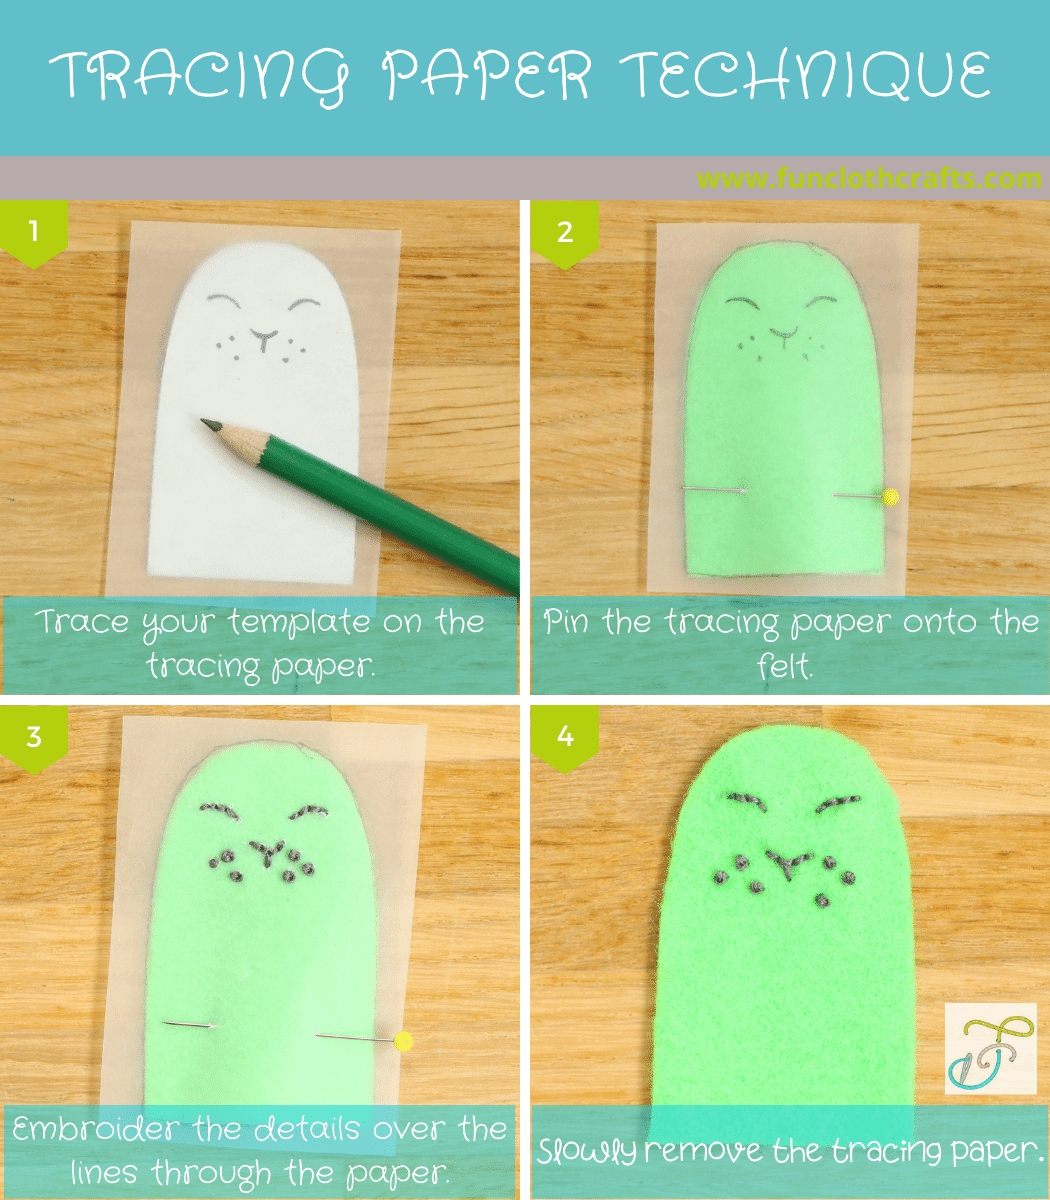
The tracing/baking paper technique for tracing of felt
This technique requires drawing the pattern on baking paper or tracing paper. The paper needs to be transparent and easily torn (I keep and use thin papers that come in shoe boxes). Then, you embroider the design over the paper. Finally, you tear off the paper. The advantage is that there won't be any pen marks on the felt. This method is perfect for more complex embroidery. Notice sometimes it could be cumbersome to remove the paper, though Spruce crafts shares a detailed article How to Transfer a Design to Fabric Using Tracing Paper for this method, suggesting removing the paper in small sections rather than trying to remove it in large pieces. You can help yourself by perforating the paper with a needle. Use tweezers for any small scraps of paper that remain under the stitching.
This technique will also work perfectly for dark or black color felt embroidery, as the design is on the tracing paper, rather than directly on the felt. Therefore, it is always visible.
STEPS FOR THE TRACING PAPER TECHNIQUE TO TRACE DESIGNS ONTO FELT
Have a template available
Trace the template on a tracing/baking paper
Cut the traced pattern
Pin the design onto the right side of the felt, matching the pattern
Embroider the details over the lines through the paper and felt
Gently remove (tear off) the tracing paper
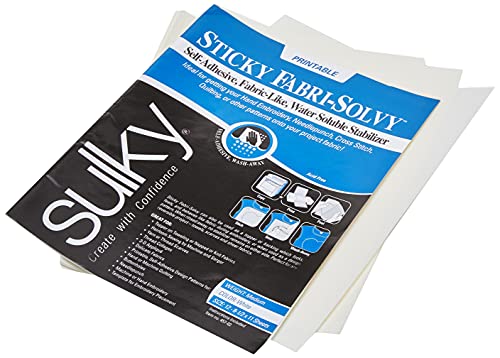
The water-soluble stabilizer technique for tracing on felt
If you work with darker fabrics or intricate embroidery designs, the water-soluble stabilizer technique is a fantastic choice! This amazing material lets you conveniently print your pattern directly onto the stabilizer and effortlessly transfer it onto your embroidery fabric.
Once you've completed stitching through both felt and stabilizer, all you need to do is soak your beautiful embroidered piece in warm water. The stabilizer effortlessly dissolves away, leaving your stunning masterpiece behind.
Just remember, since this technique involves soaking, it's crucial to double-check that your fabric is washable and that your embroidery floss is colorfast.
Bonus technique: The Iron-On Transfer Paper For Inkjet Printers Technique
With this method, you transfer an image onto the felt. For it to work, you need a color inkjet printer and the iron-on transfer paper. Compared to the previous techniques, it isn't meant for transferring a template of lines but a complete image with all its colors. The transfer will leave a plastic-like film on the felt. Therefore, I consider it a special method, where an entire image shows on the felt. This can be fun for your extraordinary creations! Visit the How To Transfer Designs Onto Felt original post to see an example.
The technique that failed - The window, lightbox technique
I started to write this article as 5 Ways to Trace on Felt for Embroidery, but one technique has failed to work for felt (at least for me). The method is what I call a window tracing or lightbox tracing technique. It works for light colored thin cotton fabric, but not for felt. The method requires a template to be taped onto a bright window or screen (you could also use a lightbox). Then, you tape the felt over the pattern and start tracing. Unfortunately, due to the texture of felt, you cannot see the template lines through the felt. At least, I couldn’t. I tried it with a window and a computer screen.
Conclusion Tracing on Felt for Embroidery:
This post shares 4 different ways on how to trace a pattern on felt for embroidery. For Fun Cloth Crafts felt patterns, I prefer to draw the shape following the template directly. If I look for precision, I use the tracing paper technique. For complex embroidery patterns, the SULKY water-soluble stabilizer technique is the best. I haven’t tried the bonus technique, but I am curious about how it works.
In a future post, I want to test different marking and drawing tools for felt. If there is any tool you are particularly interested in seeing, let me know about it in the comments.
Thank you for reading! What are your thoughts? Let me know in the comments if you find this article useful and share your tips!
Be sure to visit more on this website for free embroidery and sewing tutorials to help you out as you stitch my patterns. For free felt patterns, visit my Freebies page.
Feel free to join my mailing list! You’ll receive updates on new patterns, the latest tips & tricks, and special promotions.
Let’s learn together!
XO, Anna