DIY: How To Make an Easy No-Sew Felt Banner
This post contains affiliate links, which means I may earn a small commission at no additional cost to you if you click through the link and make a purchase. For more information, click here.
Do you love felt banners as much as I do? I think they are an excellent decoration for any party (birthday, baby shower, graduation, etc.) or your home. I wanted to try making one myself! As my husband's birthday was approaching, I parked finger puppets crafts for a bit (I will come back to them soon :) and went on to make a DIY banner from felt with HAPPY BIRTHDAY text. Since my husband loves music and plays guitar, I gave the felt banner a music touch with music notes and a felt guitar. The felt banner is a simple felt craft project to make and looks fantastic. In this post, I'll show you how to make a quick and easy personalized DIY banner.
Let’s craft together!
The DIY felt banner can be used on many occasions. I can think of birthday parties, baby showers, celebrating holidays. Felt buntings are lovely as a baby nursery and children's room decor. You can also write simple inspirational quotes such as 'GET ORGANIZED' or 'AWESOME' in the form of a banner. And what about welcoming spring with a 'SPRING' felt bunting. The DIY felt banner has one big plus point, it can be easily reused for next birthdays and occasions.

Tips For Making Your Felt Banner
Find tips for creating your felt banner. Before starting your DIY felt project, I would recommend deciding what text and colors you like for your banner. Follow by finding the best font for the text. I offer a couple of alphabets you may like. Then, learn tips on how to make and attach the letters to the felt bunting. The last tips focus on how to string and hang the felt banner.
These tips complement the instructions. They further help with the felt banner making and suggest other materials you can use, which you might already have at home.
Think about the text
I have started my felt banner series with a 'HAPPY BIRTHDAY' text and music theme. My son is already asking for the same banner with a LEGO theme :)
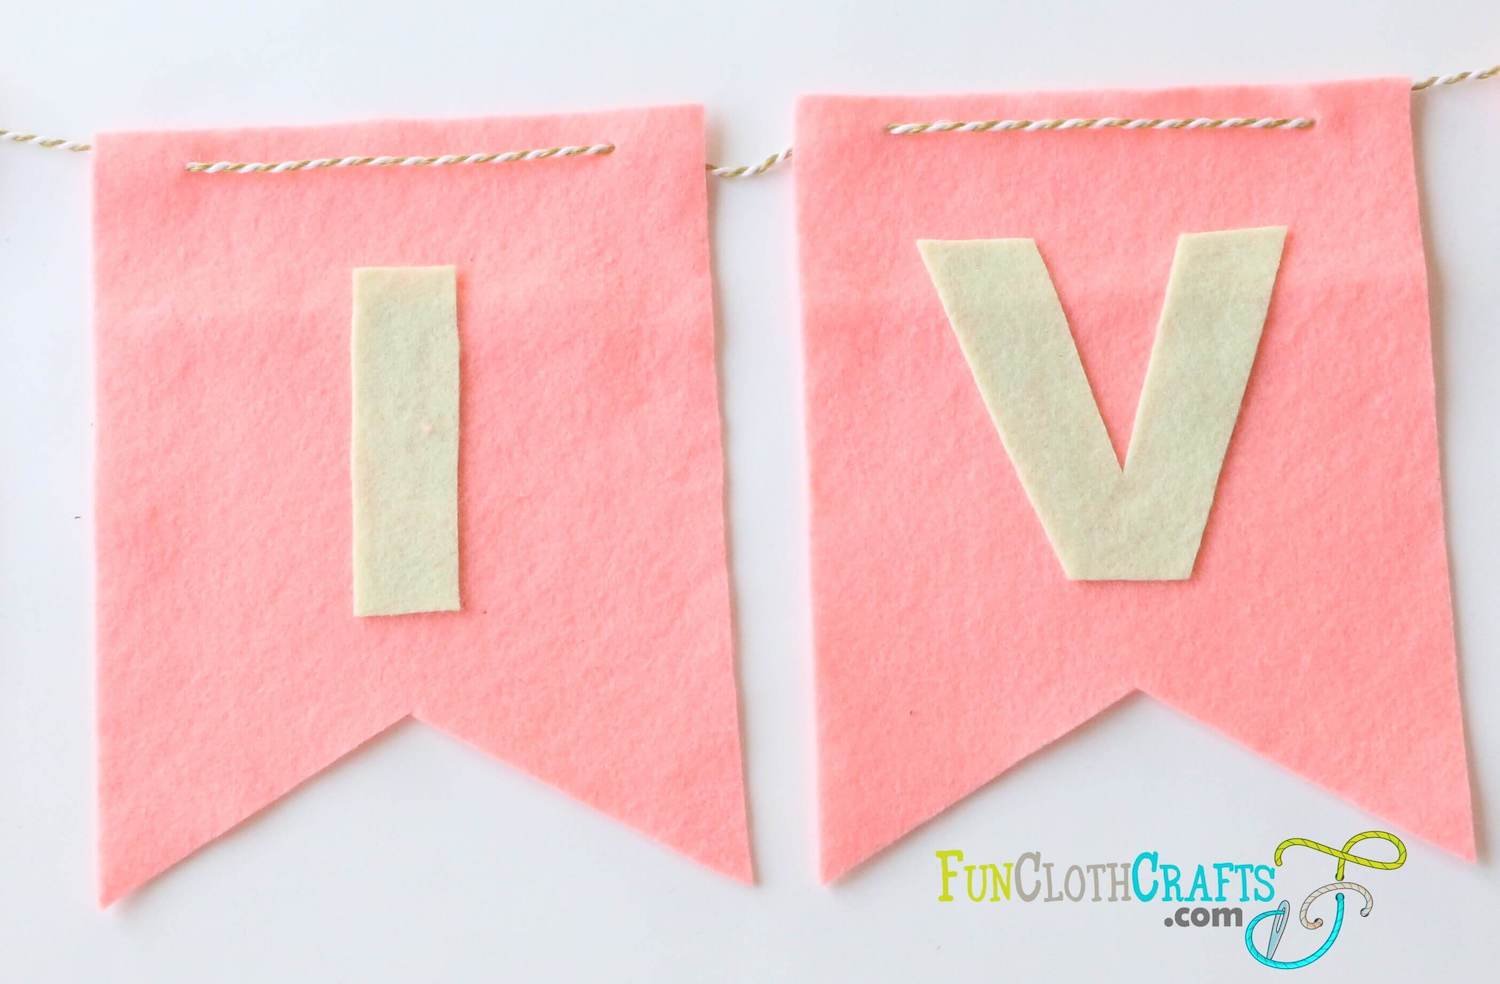
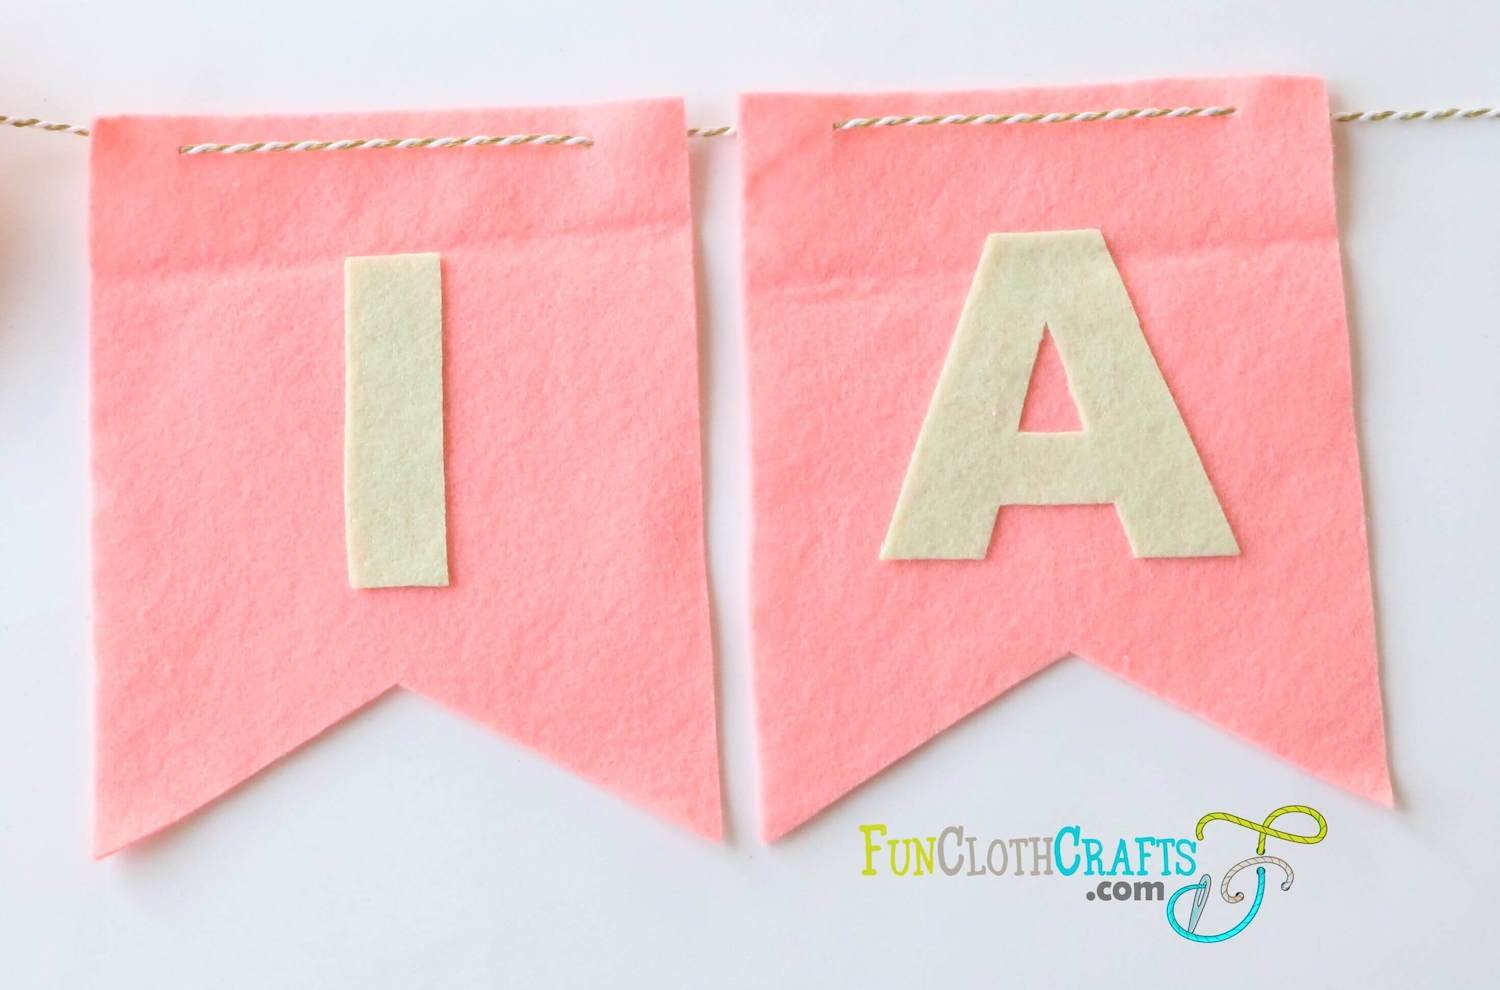
I continued with decoration for my kids' room using my children's names: OLIVIA, LUKAS, and TOMAS. The DIY felt banner is a lovely baby nursery decor as well.
If you are throwing a baby shower, you can have a banner saying 'BABY SHOWER', 'BABY OLIVIA' (if the name is known and public), or 'HELLO BABY'. I enjoyed all my baby shower parties and the lovely decorations.
You could also do short inspirational phrases or words. I like these ones: 'CREATE', 'INSPIRE', 'ENJOY', 'GET ORGANIZED', 'AWESOME', 'THANK YOU', 'GOOD LUCK'.
The felt banners are also great to bring festive cheer during holiday celebrations:’HAPPY HOLIDAYS', 'HAPPY THANKSGIVING', 'HAPPY EASTER', 'HO HO HO', 'HELLO 2027'. I like the sign saying 'SPRING' to welcome the season of new beginnings.
There are so many options, especially as you can make this DIY felt banner totally personalized.
Think about colors
Choose one color or various coordinating colors for the felt banner. The color choice will depend on the purpose of the bunting and where and how long it will hang. Suppose you plan to keep this banner up year-round. In that case, you'll want to choose colors that coordinate with your decor or are somewhat neutral, so you can use your banner for various occasions.
For the Happy Birthday felt banner, I got together the felt colors I like and started playing around and looking for the combining options. I needed some colors that would be OK for a man and would fit my home.

How to make letters for felt banner
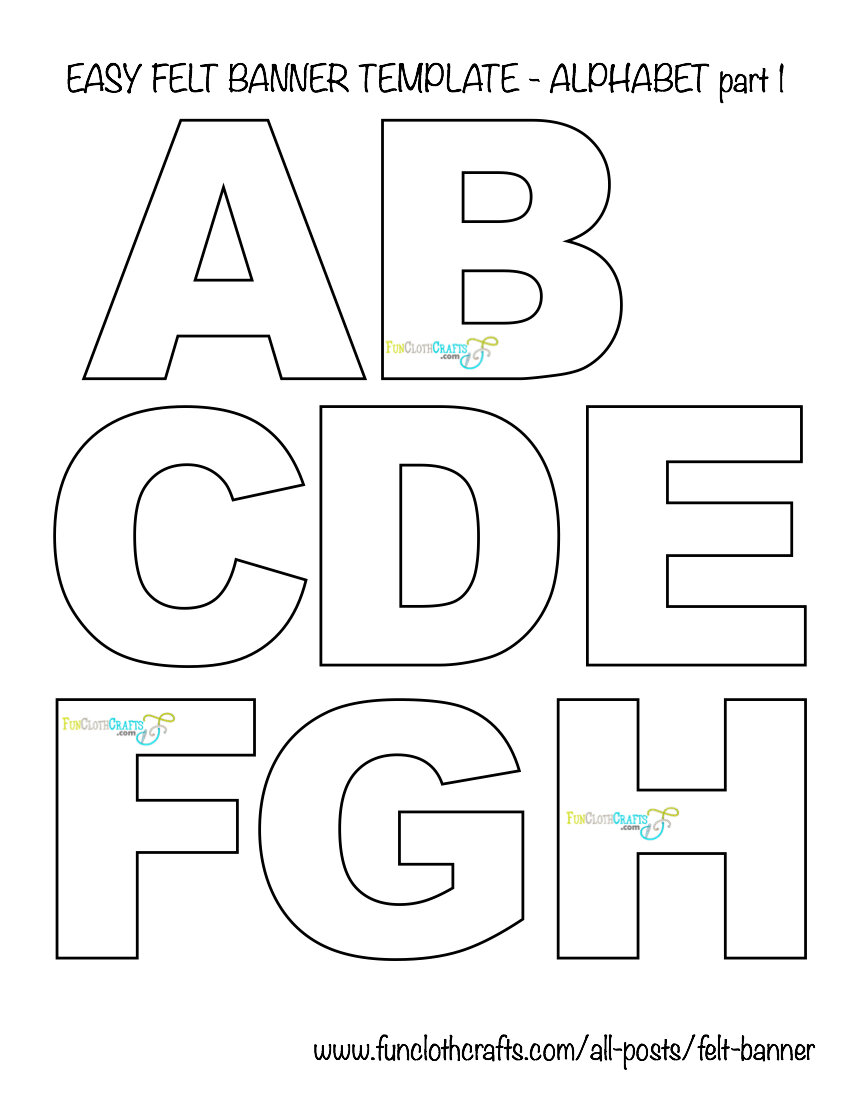
You can make yourself a letter template. Go to your word processor (Word, Page), type your phrase and try different font types. If you can change the text to an outline to reduce ink consumption during printing. Lastly, delete any duplicate letters. The fonts I prefer are Futura, Arial Black, Skia Black, Avenir Next Heavy. The letter size for this banner is approximately 260px. The letters should be 2.6 inches tall (6,6 cm).
To ease the work, I share a file with the complete alphabet and numbers in Arial Black font - to download the file, subscribe to the FunClothCrafts newsletter. In the newsletter, you find a password to the subscriber's Free Downloads Vault. I used the same alphabet for the OLIVIA, LUKAS, TOMAS felt banner.
Another option is to use the PRYM LOVE double-sided fusible interfacing. It comes with lovely letters and numbers that I used in the felt banner Happy Birthday. Unfortunately, I couldn't find the document anywhere online to share it with you. Note, these letters are reversed for the interfacing to work the right way. If you have the PRYM LOVE double-sided interfacing at home, feel free to use it. I have scanned the file first and printed it at 150%.

There are also some other resources you can use for the letters.
Wendi Gratz from www.shinyhappyworld.com shares Free Alphabet Applique Pattern. The file includes all the letters the right way and reversed (for the applique with fusible adhesive technique). These letters are really funky!
Freeprintablestencils shares big letters and other stencils to use. Ensure that you print these in an approximate height of 2.6 inches (6,6 cm) for the banner.
How to attach letters to the felt banner
I share 3 ways on how to attach the letters to the DIY felt banner. If you use the glue and sewing option, you need the letters the right way. In case you opt for double-sided interfacing, you need to have reverse letters.
Glue letters to the felt banner
Different glues work differently on felt, and some do not work at all. If unsure, always try your glue beforehand on a small piece of felt. If you want to learn more about how to glue felt explore the best glue for felt article.
I can recommend these glues, BEACON Fabric-tac, MYLIN Silicon liquido, ELMER’S Craft BOND, UHU Low Melt Creative. ELMER’s Craft Bond being my favorite one.
STEPS:
Cut out the letter from felt. You can check 6 ways on how to cut out felt tutorial. Mostly, I cut felt with freezer paper.
Apply glue close to the edges onto the reverse side of the letter.
Place the letter with glued side onto the felt banner.
Wait until dry.
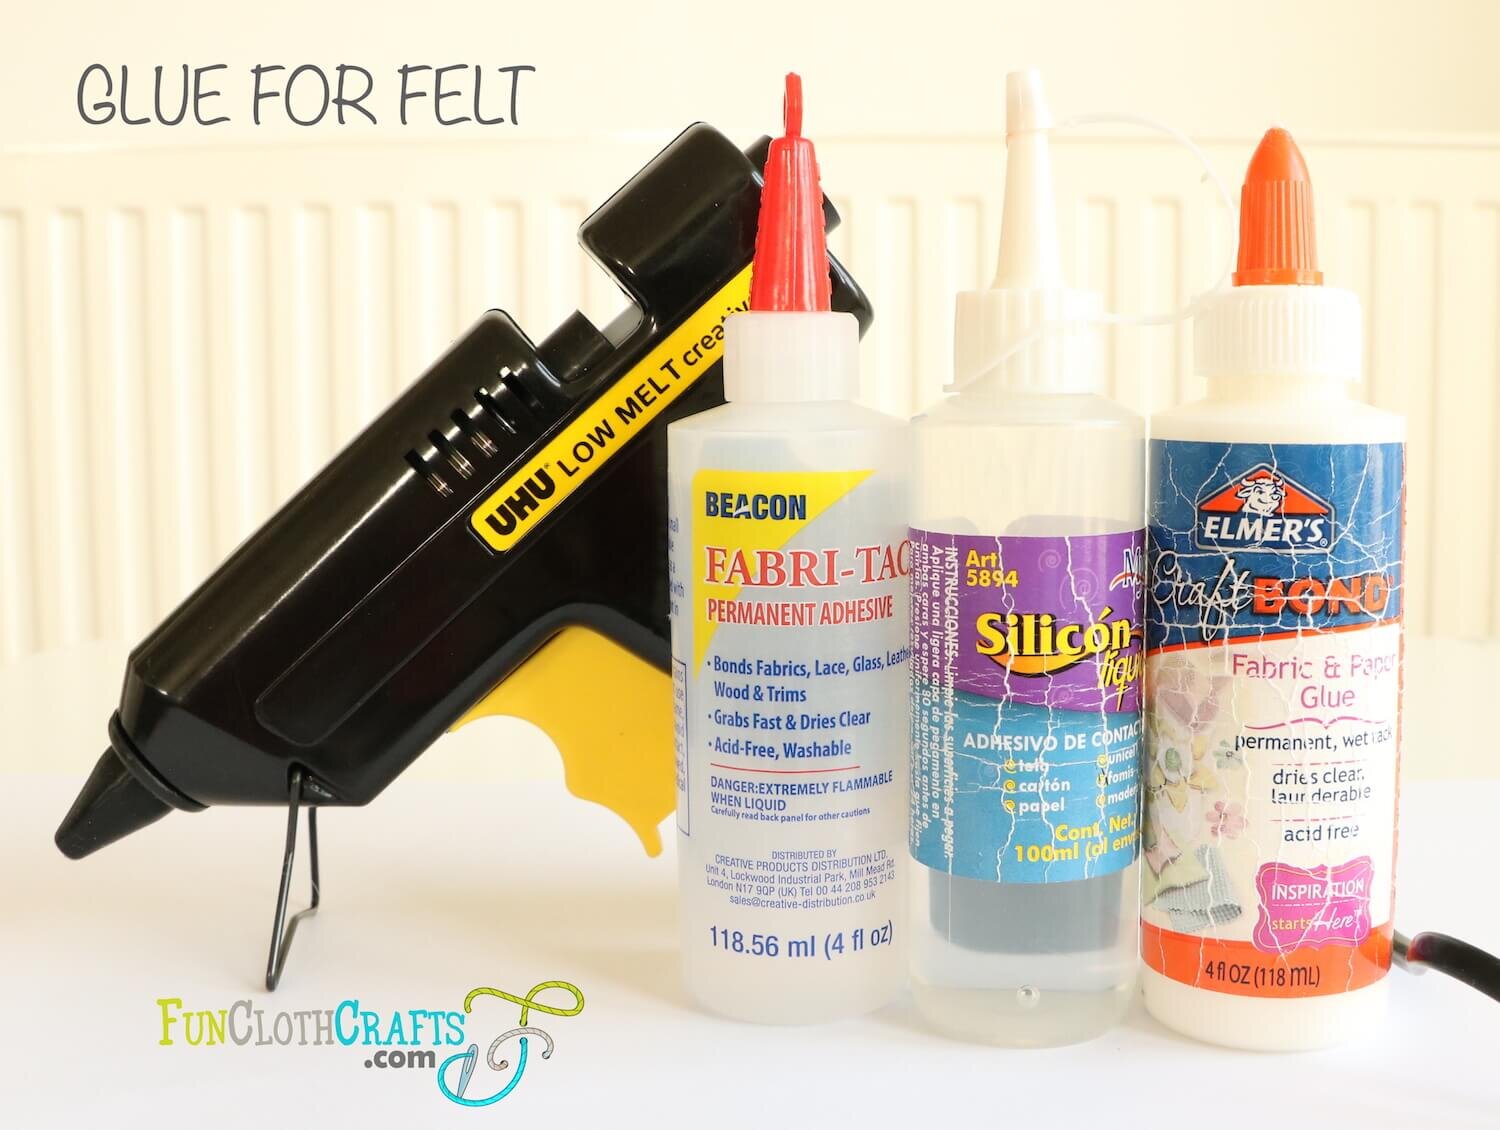
Different types of glue you can use for felt
Double-sided interfacing for the letters
I had the PRYM LOVE double -sided interfacing at home and decided to try it out for the felt banner craft. It worked wonders. The letters stick perfectly at all the edges. Just make sure to use some cloth when ironing it on not to damage your iron if the paper moves.

STEPS on how to attach letters to the felt banner using double-sided interfacing:
Transfer letter onto the paper side of double-sided interfacing. The interfacing is quite transparent, so tracing with a pencil works fine.
Place the interfacing with the coated side onto the reverse of felt and iron (iron setting on medium level). I like to put some piece of cloth (an old piece of shirt) between my iron and the interfacing.
Cut out the letter, peel off the baking paper.
Place the letter with coated side onto the felt banner, cover with a damp cloth, and slowly iron on applying gentle pressure. Do not push the iron.
Leave to cool.

Letters traced to double-sided interfacing

Iron double-sided interfacing onto felt

The letter is ironed to the felt banner

Felt banner DIY Happy Birthday
Sewing letters to the felt banner
For this option you need a sewing machine, but I still found it valuable to include.
Cut out the letter from felt. You can check my tutorial 6 ways on how to cut out felt.
Use pins to attach the letter to the felt banner.
Sew along edges with a straight stitch. You can also try blanket stitch if your machine has one.
How to string the felt banner
Yarn, string, hemp string, ribbon, or twine is the best material for holding the banner. You can either use clothespins to hang the banner shapes on the twine or string the banner shapes using a needle with a big eye (darning needle).
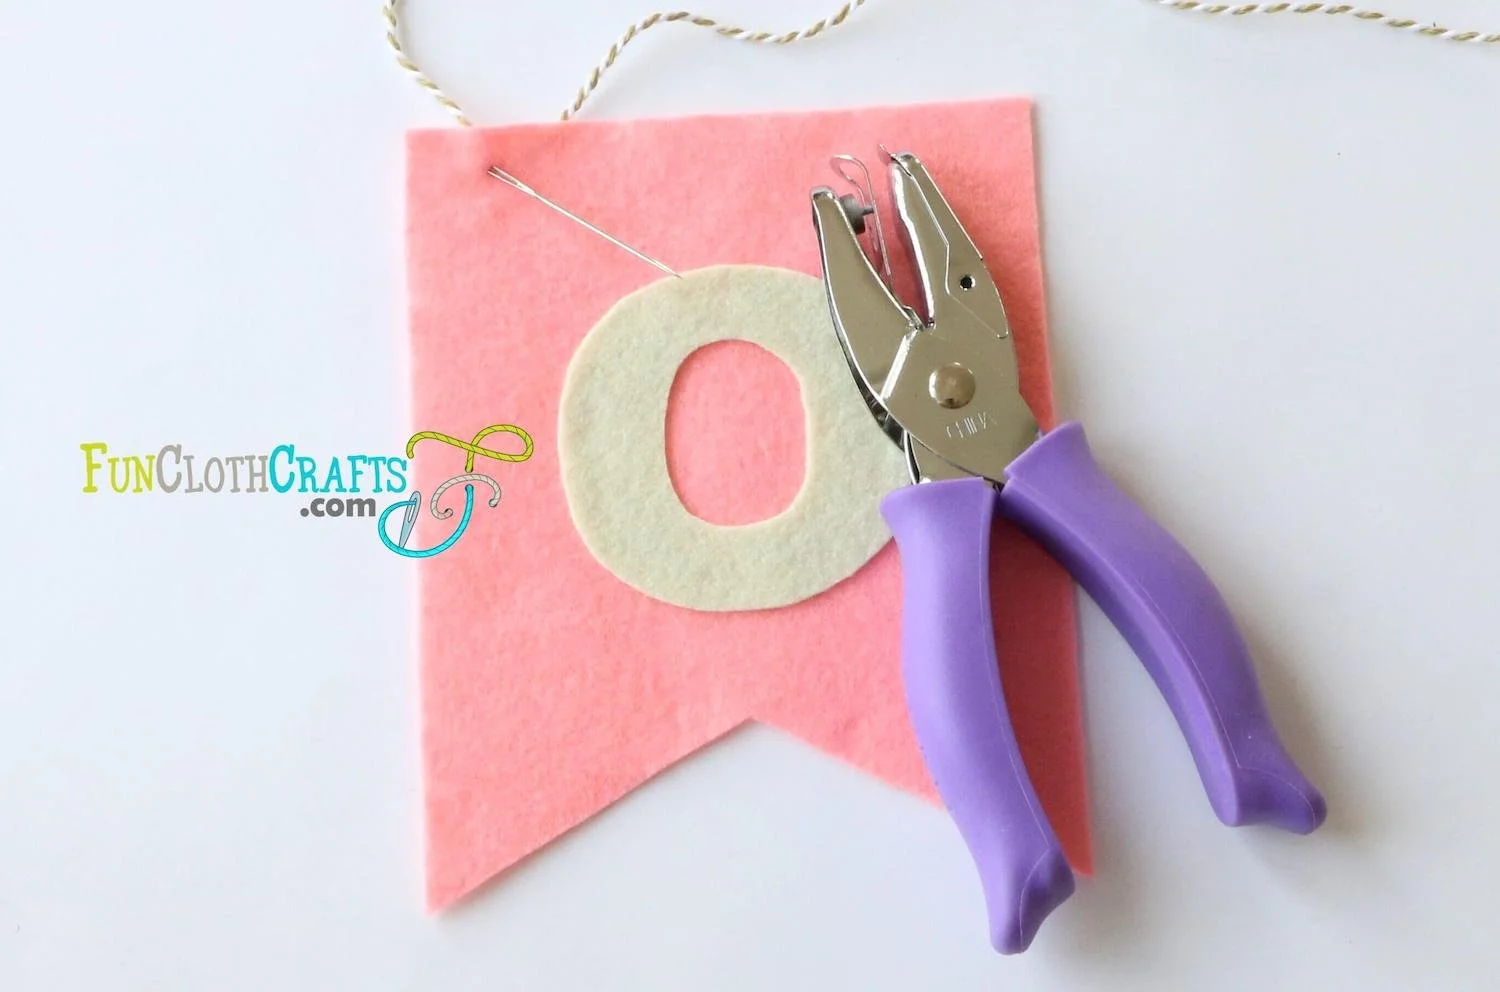
TIP: I also tried Fiskars 1/16 inch hole punch to make holes into the felt shape before threading it. I bought the smallest size, 1/16 inch. It makes the threading easier.
TIP: I threaded the ribbon with PRYM bodkins I have at home. It worked perfectly. If you have bodkins at home, you can use them as well.
TIP: If the holes in the banner shape are too big and the rope has a slippery touch, the felt shapes might bend. I had such an experience. It is vital to use a string that does friction through the hole like ribbon, hemp string, or yarn in this situation.
How much string do you need?
You'll need 6 inches (15 cm) of the material per letter and 16 inches (40 cm) extra at each end. This means that for a DIY felt banner of 5 letters, you should have 62 inches (155 cm) of a string.
How to hang felt banner
These felt banners are lightweight. Therefore, I prefer Blu Tack to hang my felt banners on the wall. The brand I use is called UHU patafix. It is a pressure-sensitive adhesive that I attach at the banner's ends and in the middle and stick it to the wall.
Other alternatives for banner hanging are tape, nails (making an eye on the string), or pins.
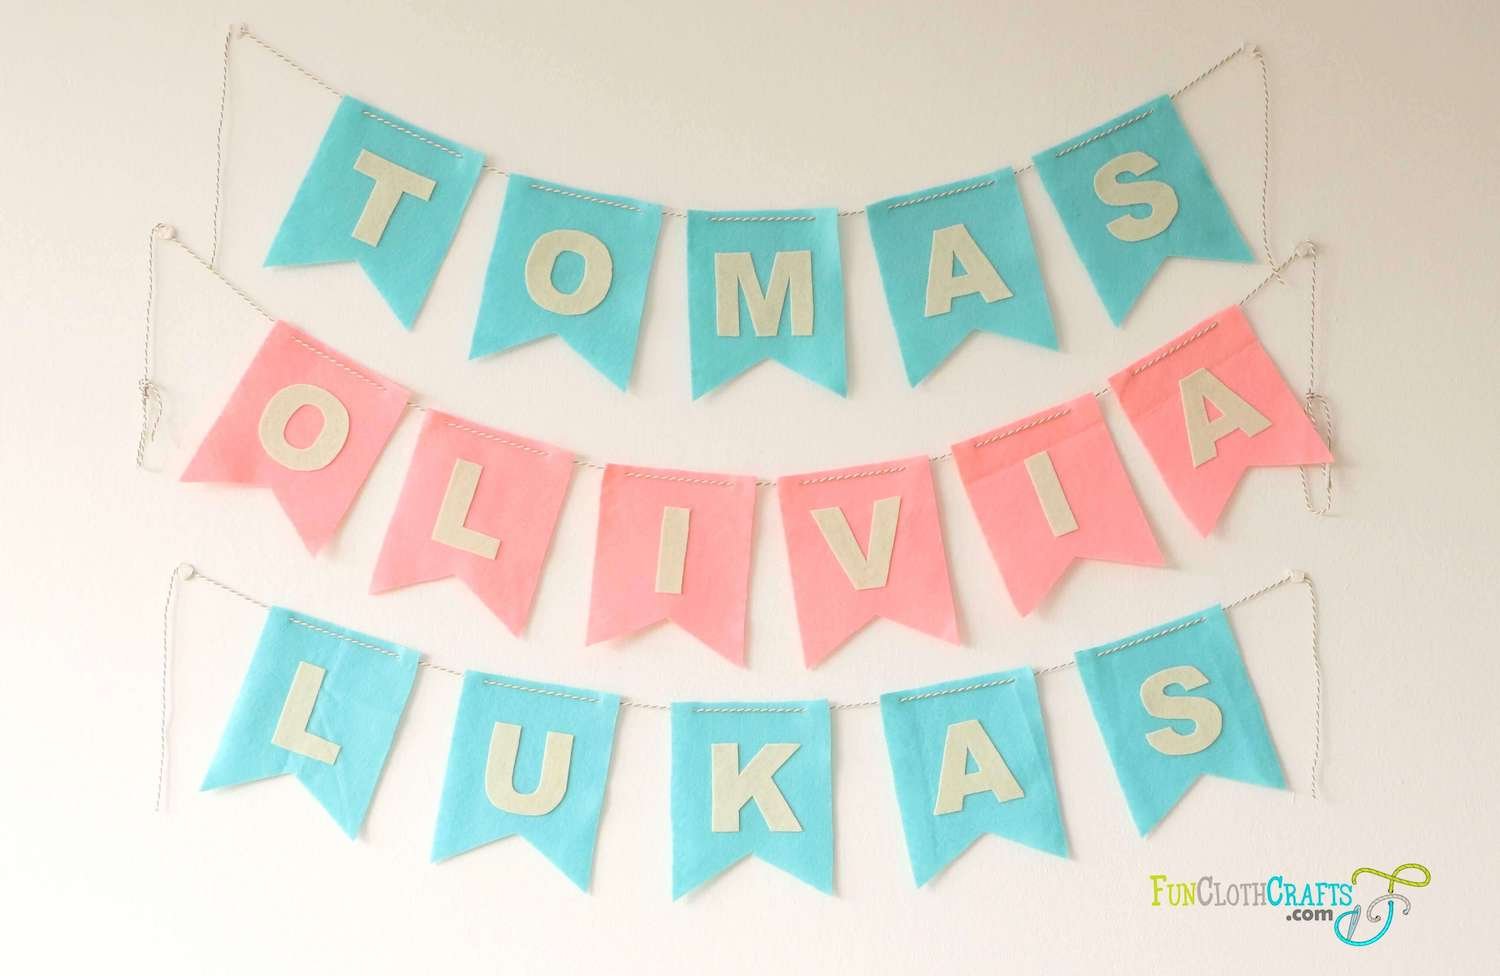
Personalized DIY Felt Banner with Fun Cloth Crafts free felt banner pattern
Materials & Supplies for DIY Felt Banner
Felt banner template - to download the file, subscribe to the FunClothCrafts newsletter. In the newsletter, you find a password to the subscriber's Free Downloads Vault
Felt banner Alphabet and Numbers template or your own letter template (explained above in How to make letters for the felt banner)
Felt (find great felt at Benzie Design or find more buying options in the Types of Felt section)
Small or embroidery scissors (Kai 5 1/2 inch embroidery scissors are the ones I use) and standard scissors (I have Fiskars razor edged shears)
Marker that traces on felt to trace the templates
Glue that works on felt (I can recommend ELMER’S Craft BOND)
Twine, rope, ribbon, string, yarn (you'll need one of these)
Clothespins or a needle with a big eye to string the banner
Blu Tack, UHU patafix, or similar to hang the banner
Nice to have Materials & Supplies:
Freezer paper or freezer paper sheets (you can print directly on the sheet). Check out my tutorial to learn how to use freezer paper for cutting precise shapes from felt).
Iron (when using freezer paper or double-sided interfacing). I have Rowenta travel iron for crafts.
Rotary Cutter/Cutting Mat/Quilting Ruler (for cutting out the felt banner). I have OLFA PRYM Rotary Cutter and Omnigrid cutting mat.
PRYM Love double-sided interfacing (includes alphabet and numbers) or Pellon Wonder Under Fusible Web (when attaching letters with the interfacing)
Fiskars 1/16 inch circle hand punch (for making holes to the banner shapes)
How to Make Easy No-Sew Felt Banner
Gather your materials & supplies. Then download and print the felt banner template and Alphabet template from Materials & Supplies. I printed both on paper.

2. Cut felt following the felt banner template, using scissors for felt or a cutter. I pin the template to two layers of felt and cut.
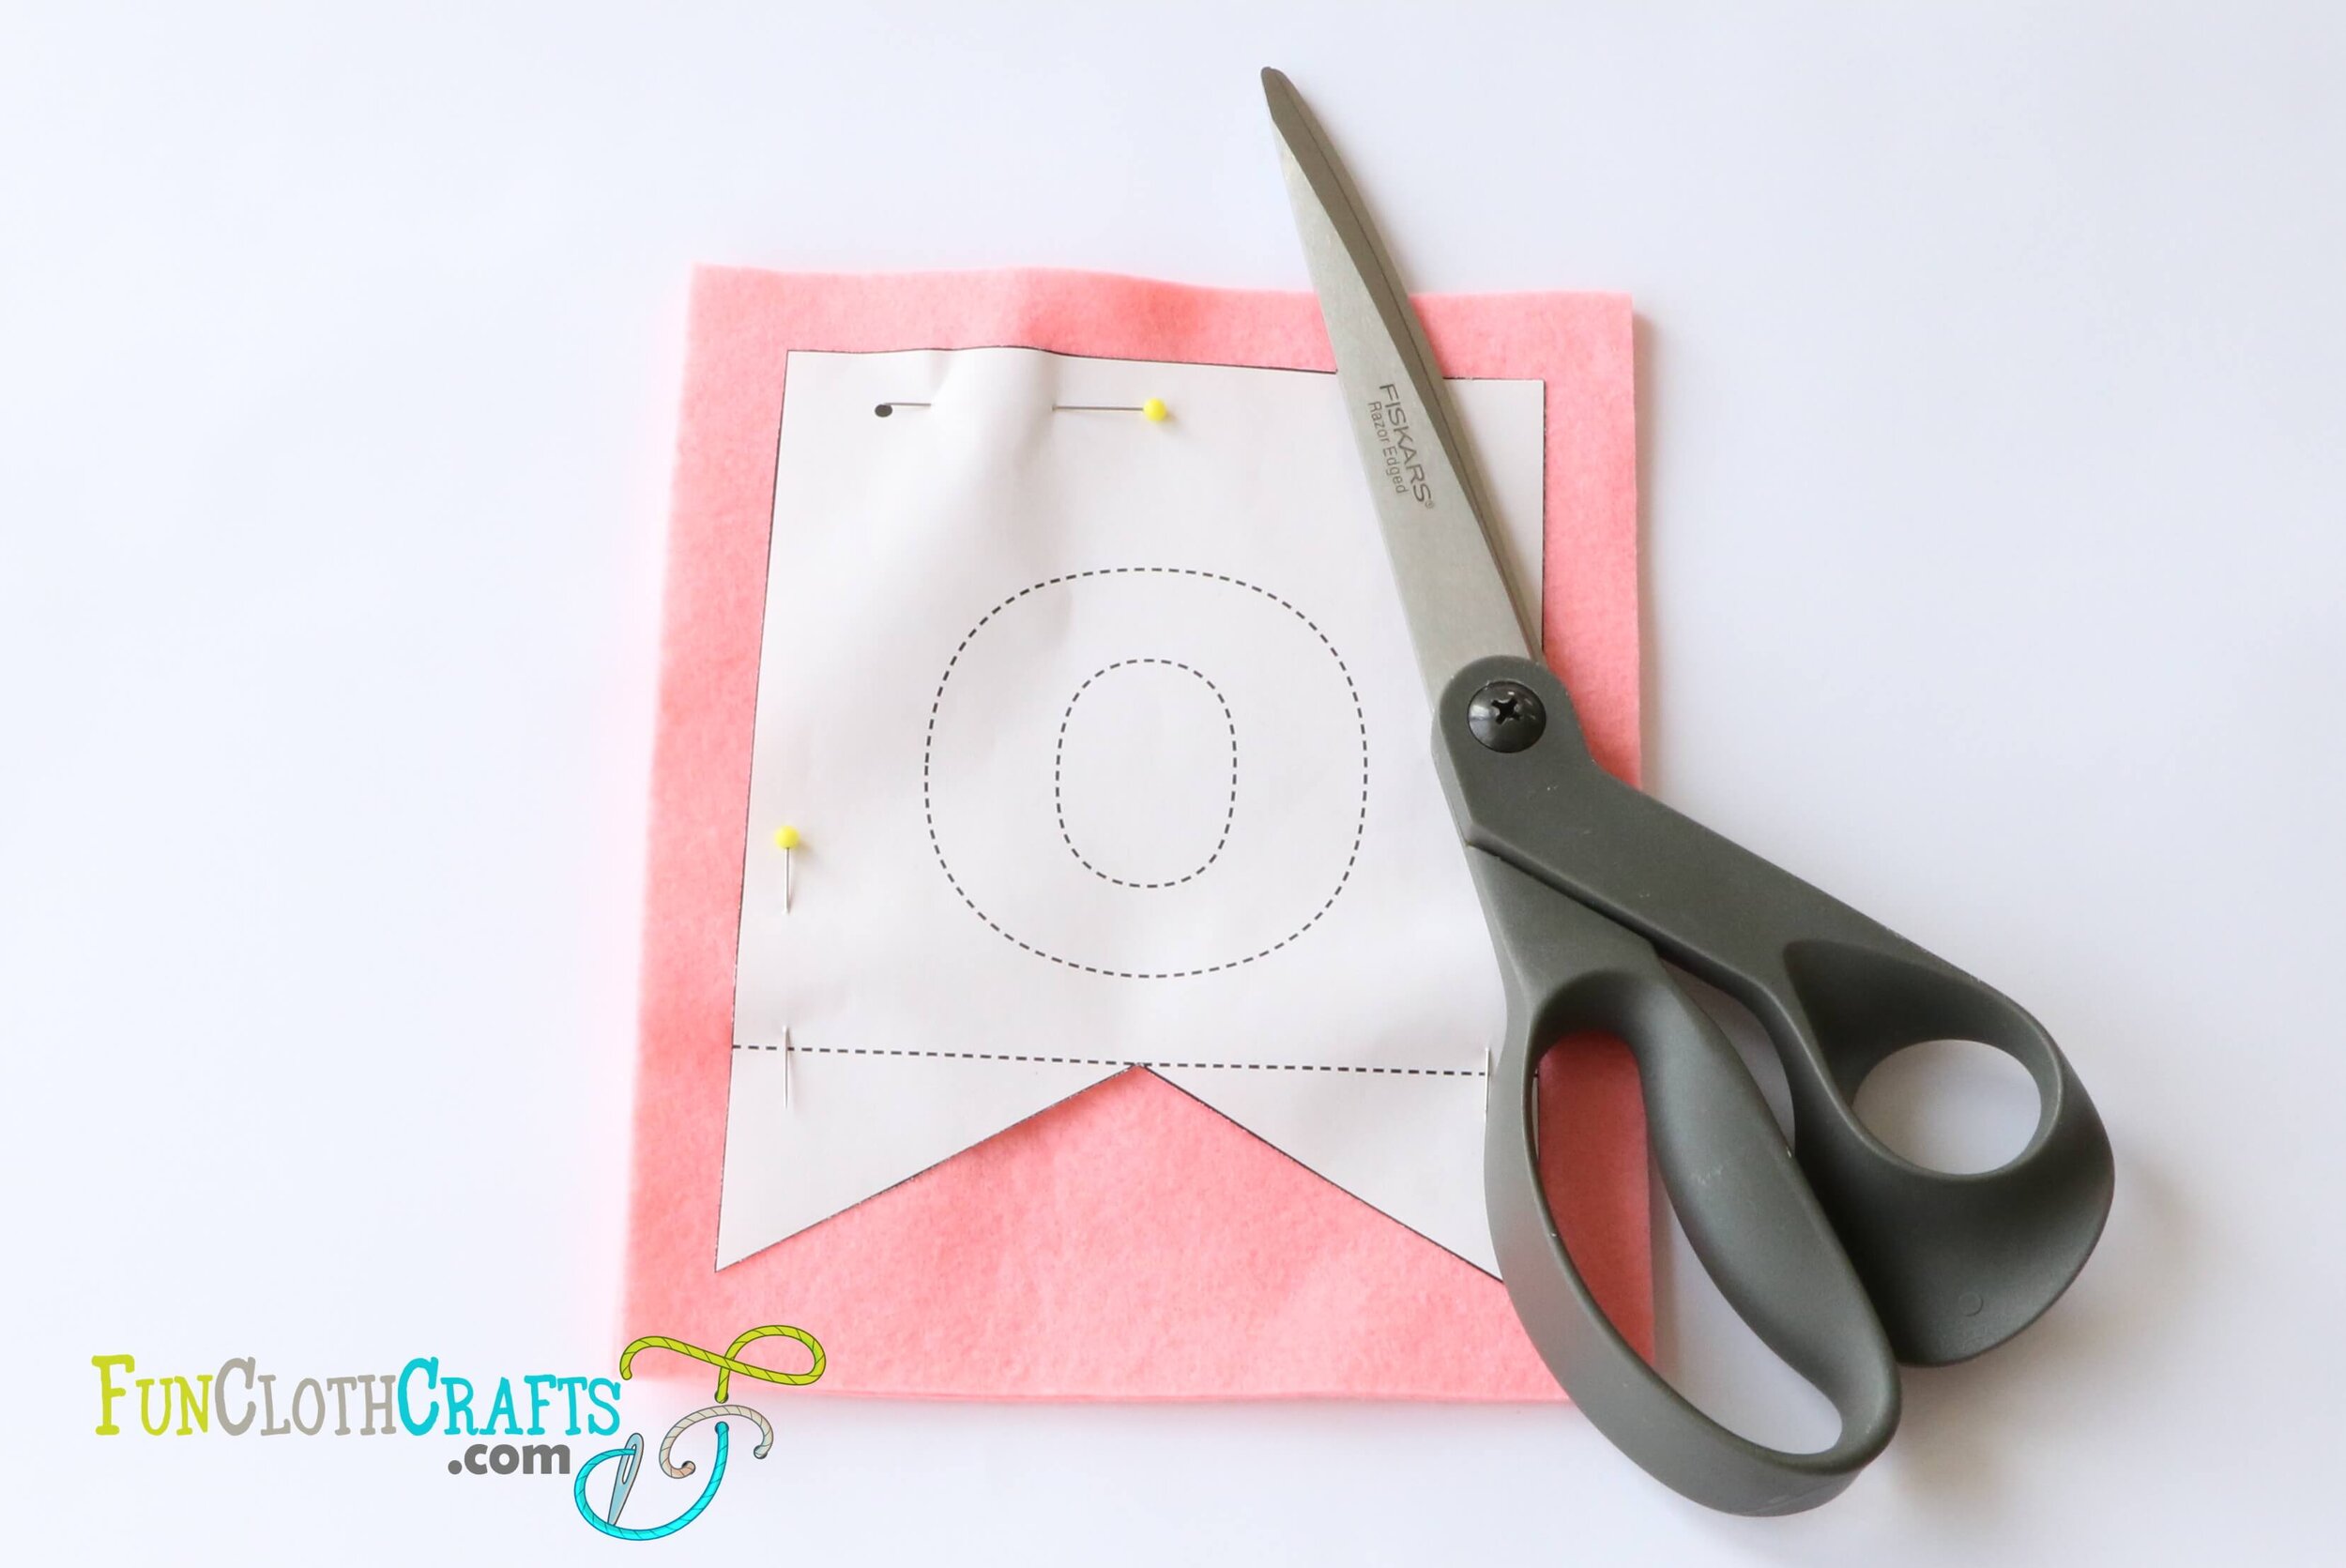

3. Trace the letters you need on freezer paper. Iron the freezer paper to your felt. Cut out the letters with sharp pointy scissors. Peel off the freezer paper.
TIP: freezer paper can be reused a couple of times. If you don't have freezer paper, trace the letters directly onto felt using a marker. Check my article 6 Techniques on how to cut out felt for more tips on tracing and cutting felt.


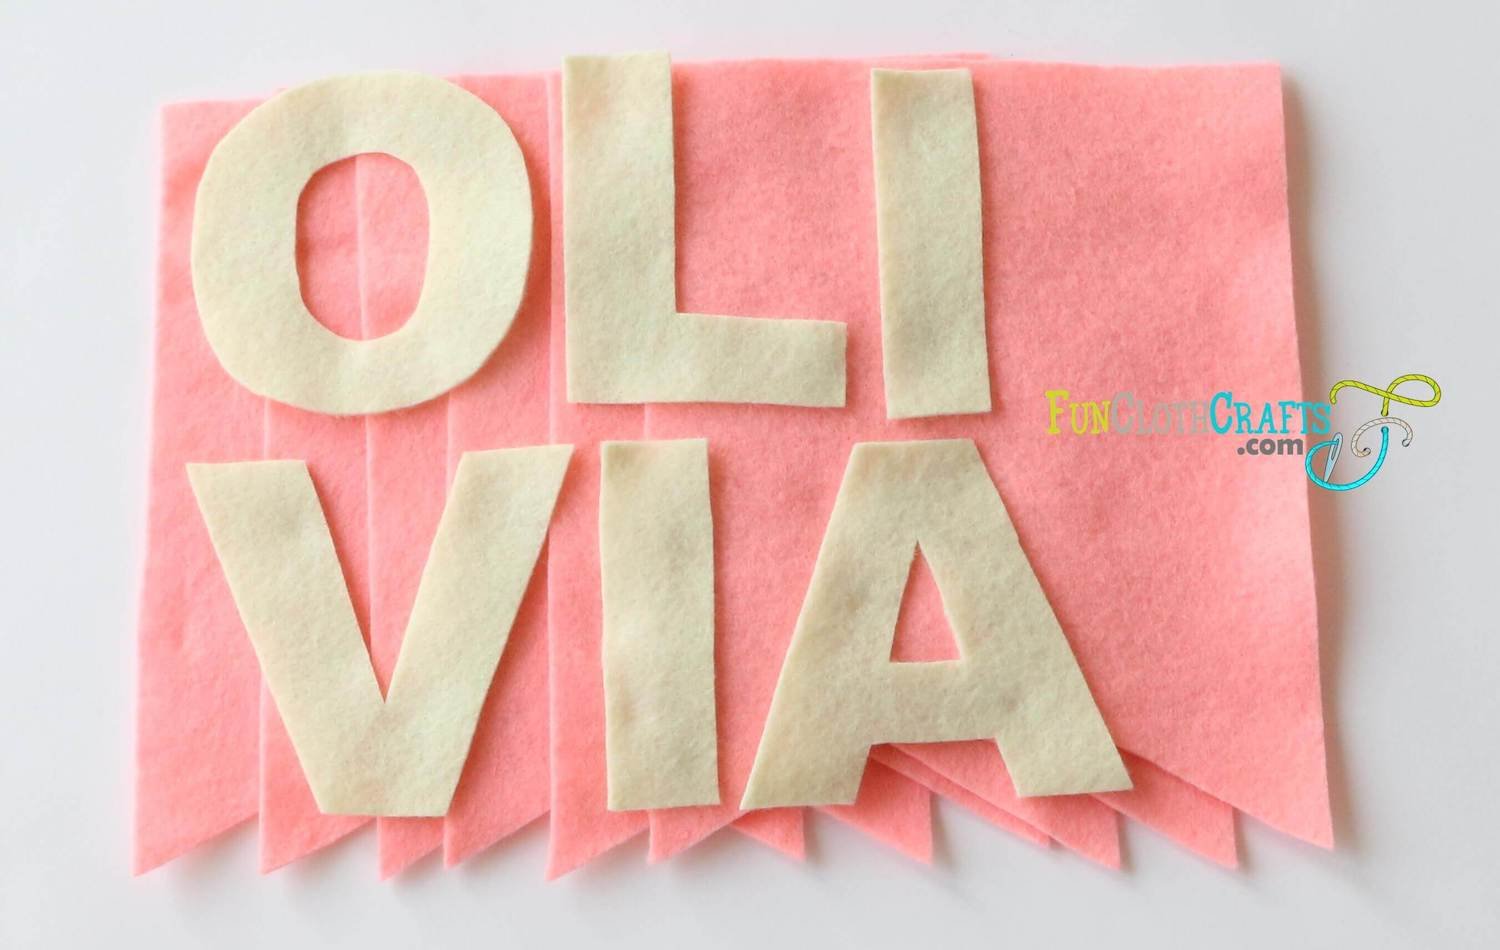
OLIVIA Letters cut out from felt
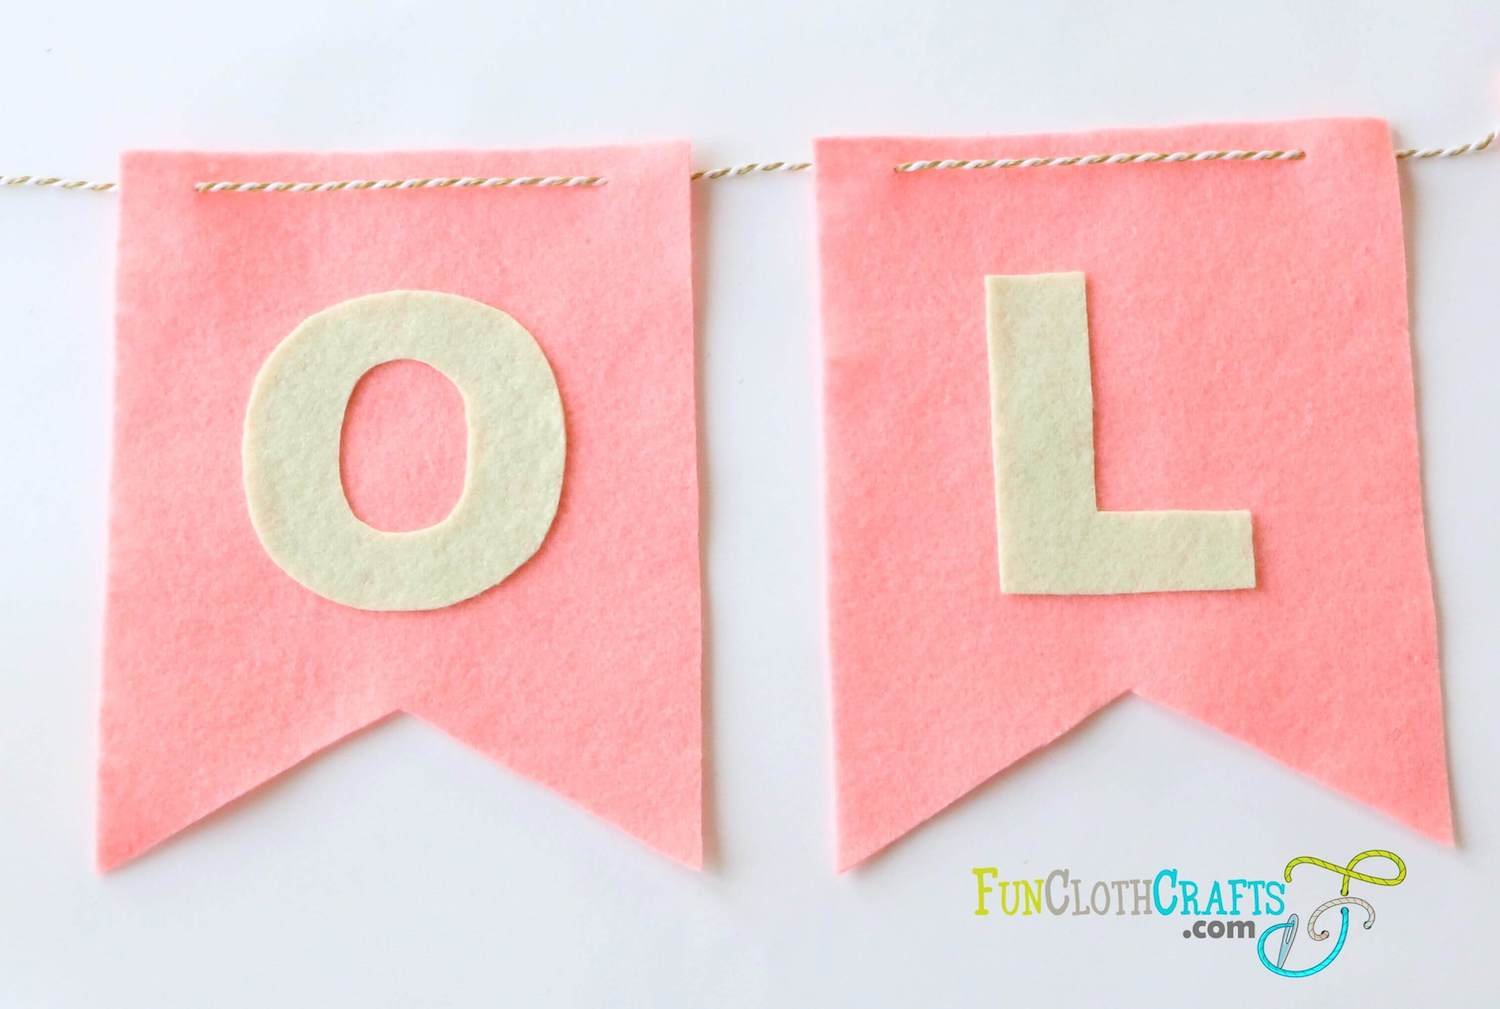
4. Glue individual letters to the DIY banner shape. I prefer to lay the banner on the floor before gluing it, especially if I use multiple colors as a background.
TIP: You can use the banner template to see where to place the letter on the banner shape. If you are uncertain which glue to use, check the above section How to attach letters to the felt banner to find out.

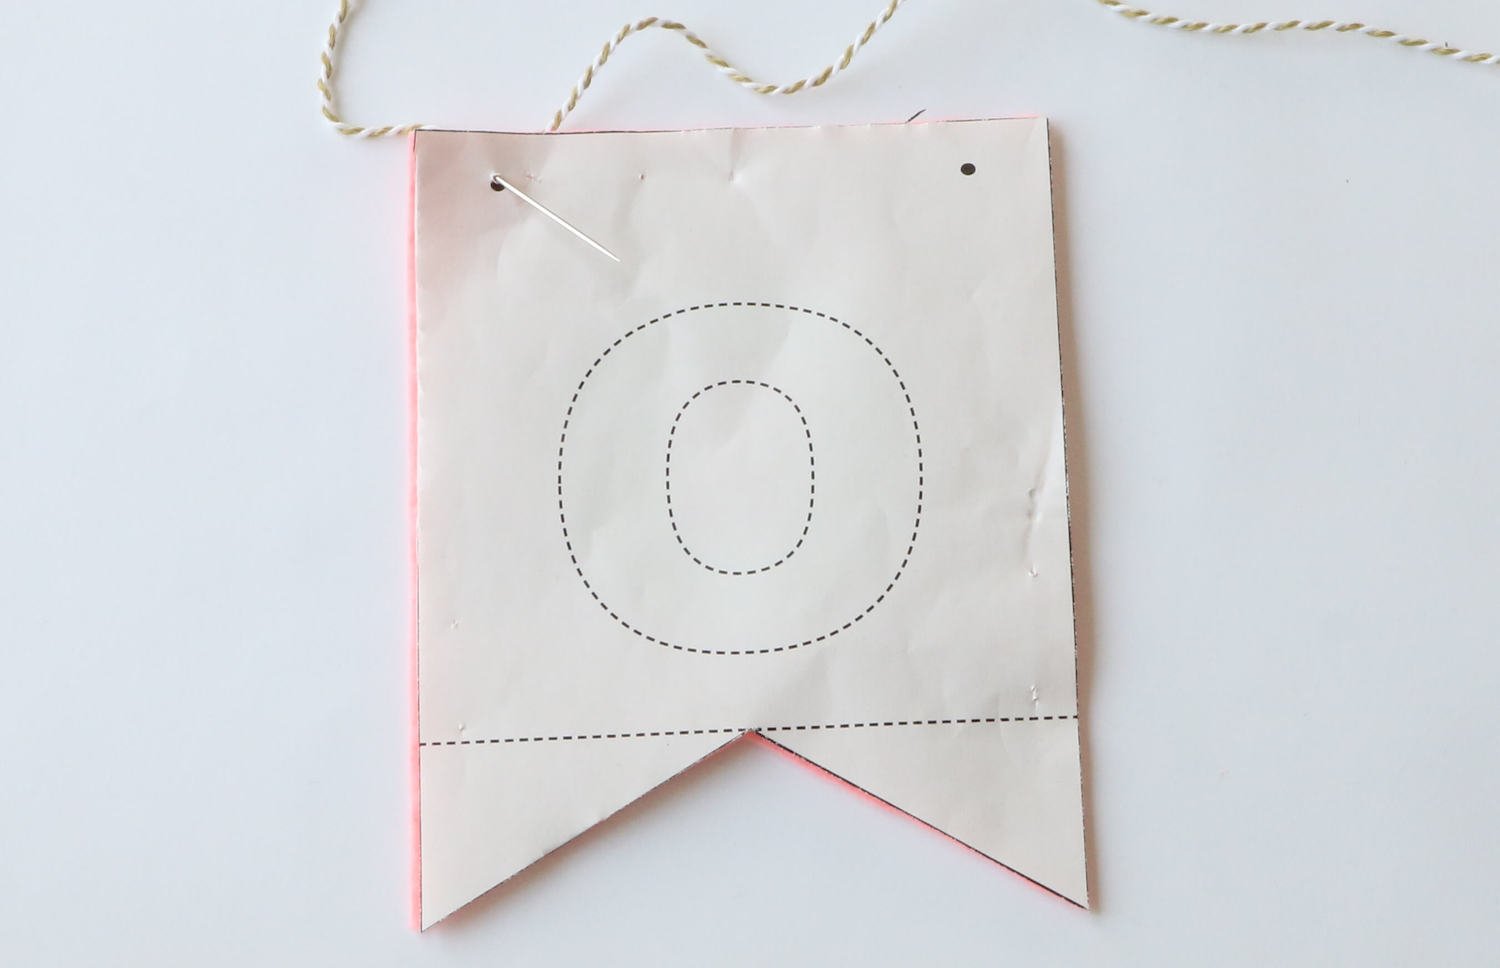
5. Use a needle and a rope or ribbon to string the banner shapes together.
TIP: See the banner template to know where to make the holes.
TIP: Make holes with a 1/16 inch circle hand punch to ease the threading of the banner.
6. Hang your awesome banner! If you want to hang it on the wall, use Blu Tack or similar pressure-sensitive adhesive.
How to Add Music Theme or Other Personalization to the DIY Felt Banner
You can personalize your DIY banner with any theme. For my husband's birthday banner, I added music notes with treble clef and guitar. I share steps on how to add the music personalization to your felt banner. You can copy the steps for any theme. My son wants LEGO man in his banner :)

Find the specific drawing on the internet. I find coloring pages the simplest to trace.
Print the drawing directly on a freezer paper sheet or trace it to freezer paper from paper.
Iron the freezer paper onto felt.
Cut the shape out.
String it onto the felt banner. I make 2 holes on every shape.


For the felt guitar, follow these steps. Unfortunately, I don’t have any pictures from the steps as I was running late and finishing the guitar at night. Hopefully, the close-up picture helps.
Find your template and print it out. I used a guitar template from www.momjunction.com.
Trace the guitar onto freezer paper.
Iron freezer paper onto dark brown felt and cut out the outer shape.
Using the same freezer paper, cut the guitar neckpiece from freezer paper at the body. Iron the guitar body onto light brown felt. Cut 1/8 inch (3 mm) inside the guitar body shape line. Cut the soundhole as well.
Follow with the same freezer paper, and cut the bridge out. Iron onto dark brown felt and cut out.
Glue the parts together. If you are uncertain which glue to use, check the above section How to attach letters to the felt banner to find out.
String the guitar to the felt banner.

Doesn't the DIY felt banner with the music theme look amazing? I was so proud and happy with my creation. And my husband loved it!

HOW TO MAKE BIRTHDAY BANNER INSPIRED BY LEGO
For my son’s birthday, I reused the music theme birthday banner (from my husband’s birthday party) and added LEGO man figures and LEGO cubes. The LEGO birthday banner looked amazing, and it is easy to make! I kept the color theme as in the original felt birthday bunting.
Learn how to add the LEGO-inspired personalization to your felt birthday banner with the steps below.
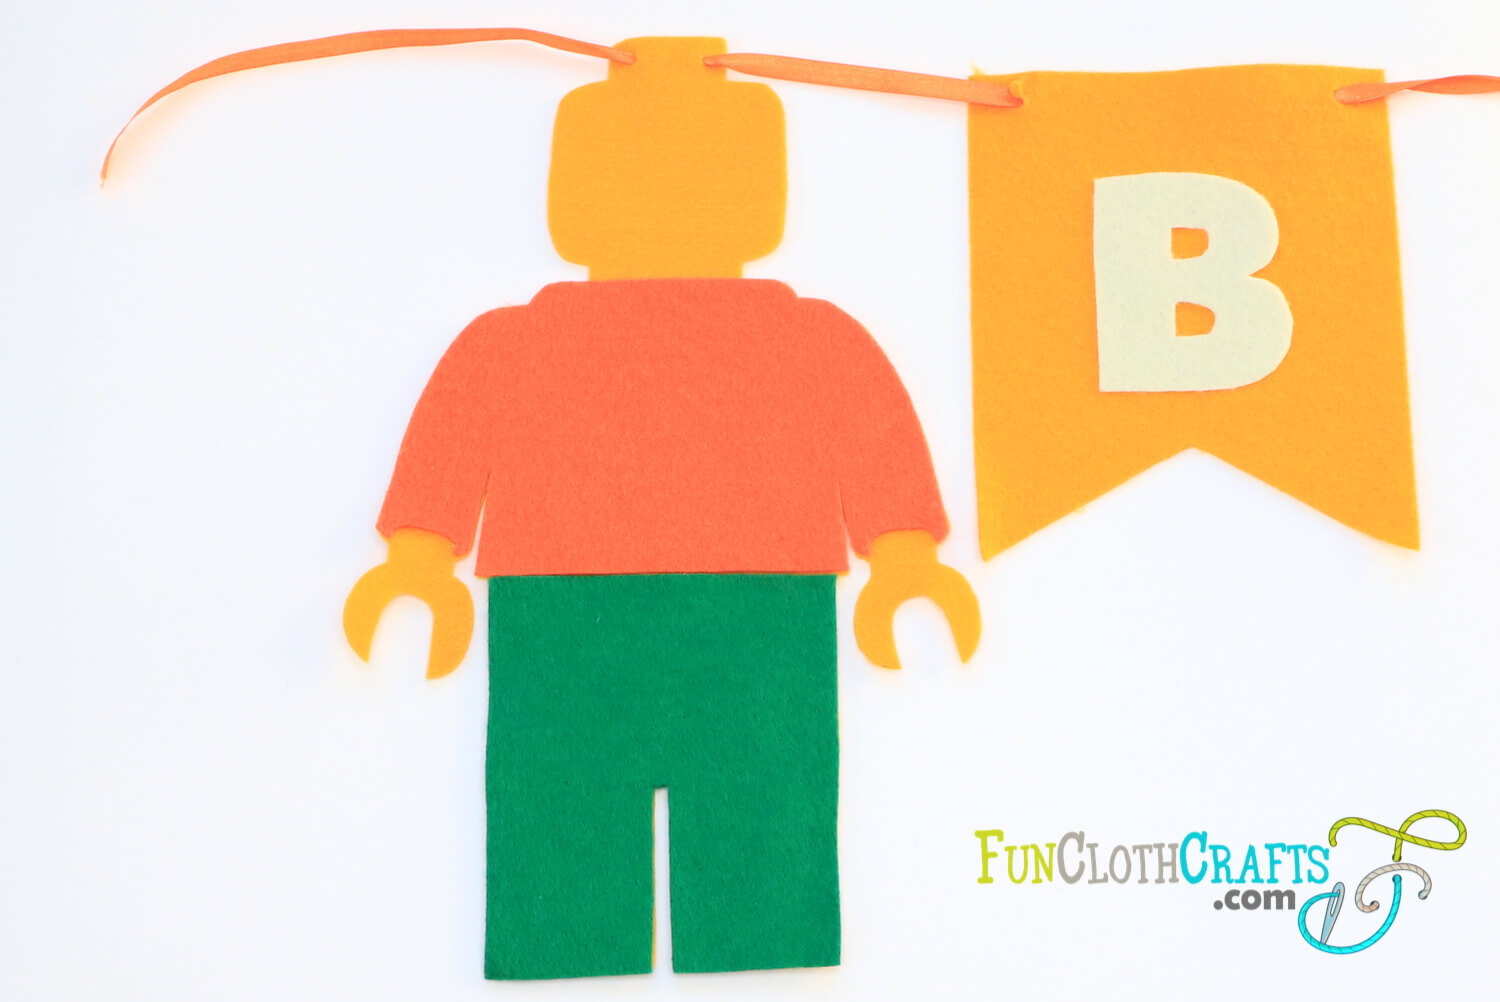
For the LEGO figure, follow these steps.
Find your template on the internet and print it out. I used a LEGO figure template from https://coloringhome.com.
Trace the LEGO figure onto freezer paper.
Iron freezer paper onto yellow felt and cut out the outer shape. Learn more on how to cut felt in my post 6 ways on how to cut felt.
Using the same freezer paper, cut the LEGO figure clothes from freezer paper. Iron the sweat shirt onto orange felt and the pants onto blue felt. Cut the LEGO clothes just outside the freezer paper edge.
Glue the LEGO clothes onto the LEGO figure. If you are uncertain which glue to use, check the above section How to attach letters to the felt banner to find out.
String the LEGO figure to the felt birthday banner.

LEGO figure traced onto freezer paper

Freezer paper ironed onto yellow felt

Felt LEGO figure

Iron the freezer paper with LEGO figure clothes onto orange and blue felt

Felt LEGO figure clothes

Felt LEGO figure
LEGO-inspired birthday banner
For the LEGO cube, follow these steps.
Cut a square 11 x 11 cm (approximately 2.3 inch) from blue felt.
Cut 4 circles with 4,5 cm (approximately 1.8 inch) in diameter.
Glue the circles onto the LEGO cube square base 0,5 cm from the edges.
String the LEGO figure to the felt birthday banner.

LEGO cube square and circles

LEGO cube stringed onto the felt birthday banner

LEGO Happy Birthday Banner
TO WRAP UP
This DIY felt banner is easy to make and a great felt craft project for a beginner crafter. It can be personalized and used in many ways and for many occasions. I hope you like all the tips I tried to include as I was learning during the felt banner-making process.
Be sure to visit more on this website for free embroidery and sewing tutorials to help you out as you stitch my patterns.
Let’s craft together!
XO, Anna
Copyright 2021 by Fun Cloth Crafts
The Pattern may be copied for noncommercial use only. You can use it to make as many DIY Felt Banners as you want for yourself or as gifts, but please don’t make any for sale.