Gerbera Daisy - DIY Felt Flower with Sizzix
This post contains affiliate links, which means I may earn a small commission at no additional cost to you if you click through the link and make a purchase. For more information, click here.
If you want to add charm to your home decor or gifts, consider creating your own Gerbera flowers out of felt fabric. Using a Sizzix die cut machine, you can easily cut out all the necessary pieces to assemble these beauties in no time. Felt flowers are a great project for beginners or seasoned crafters looking for a quick and easy project. Gerberas, in particular, are my favorite flowers. They come in a variety of bold and bright colors that are sure to catch the eye. Whether you use them as part of a larger floral arrangement or as a stand-alone decoration, these DIY felt Gerbera flowers are sure to add a delightful pop of color to any space. So, bring out your Sizzix die cut machine and let's get crafting!

Cutting out the Gerbera Pieces
If you need guidance on how to cut out felt using steel rule dies and your Sizzix, check out my How to cut felt using Sizzix tutorial.
Felt sheets (find great felt at Benzie Design or find more buying options in the Types of Felt section of How to Sew Felt blog post)
Sizzix Thinlits Die Set 8PK - Gerbera Flower on Sizzix or Sizzix Thinlits Cutting Dies Set of 8 Gerbera Flower by Olivia Rose on Amazon
Sizzix Big Shot or other Sizzix Die Cut Machine
Hot Glue Gun (I find Tilswall Hot Melt Glue Gun 50W easy to work with)
Prepare to cut the following for one gerbera felt flower:
4x smaller gerbera petals piece out of pink felt
8x larger gerbera petals piece out of pink felt
1x center disc out of pink felt
1x center disc out of green felt
1x leaf narrow out of light green
1x leaf out of green

Cut out pieces of Gerbera felt flower with Sizzix Thinlit #665334
Assembling the Gerbera Felt Flower
Assembling a Gerbera felt flower requires some preparation and the use of a hot glue gun. First, you need to prepare all the pieces by cutting the felt with the Sizzix die cut machine. Then, you'll need to layer them together to create the petals, leaves, and center of the flower. To do this, use the hot glue gun to attach the petals, layering each one on top of the other until the flower is the desired size. Once you have all the petals attached, you can begin to shape them by fluffing them up or pressing them down to give the flower more depth and texture. Then, use the hot glue gun to attach the center of the flower to the petals, making sure it's centered and secure. Finally, attach the leaves from the bottom of the flower. With a little patience and creativity, you can create a beautiful Gerbera felt flower that will last for years to come.

Gerbera Felt Flower - Layers of cut felt connected by hot glue gun


Other Felt Craft Patterns


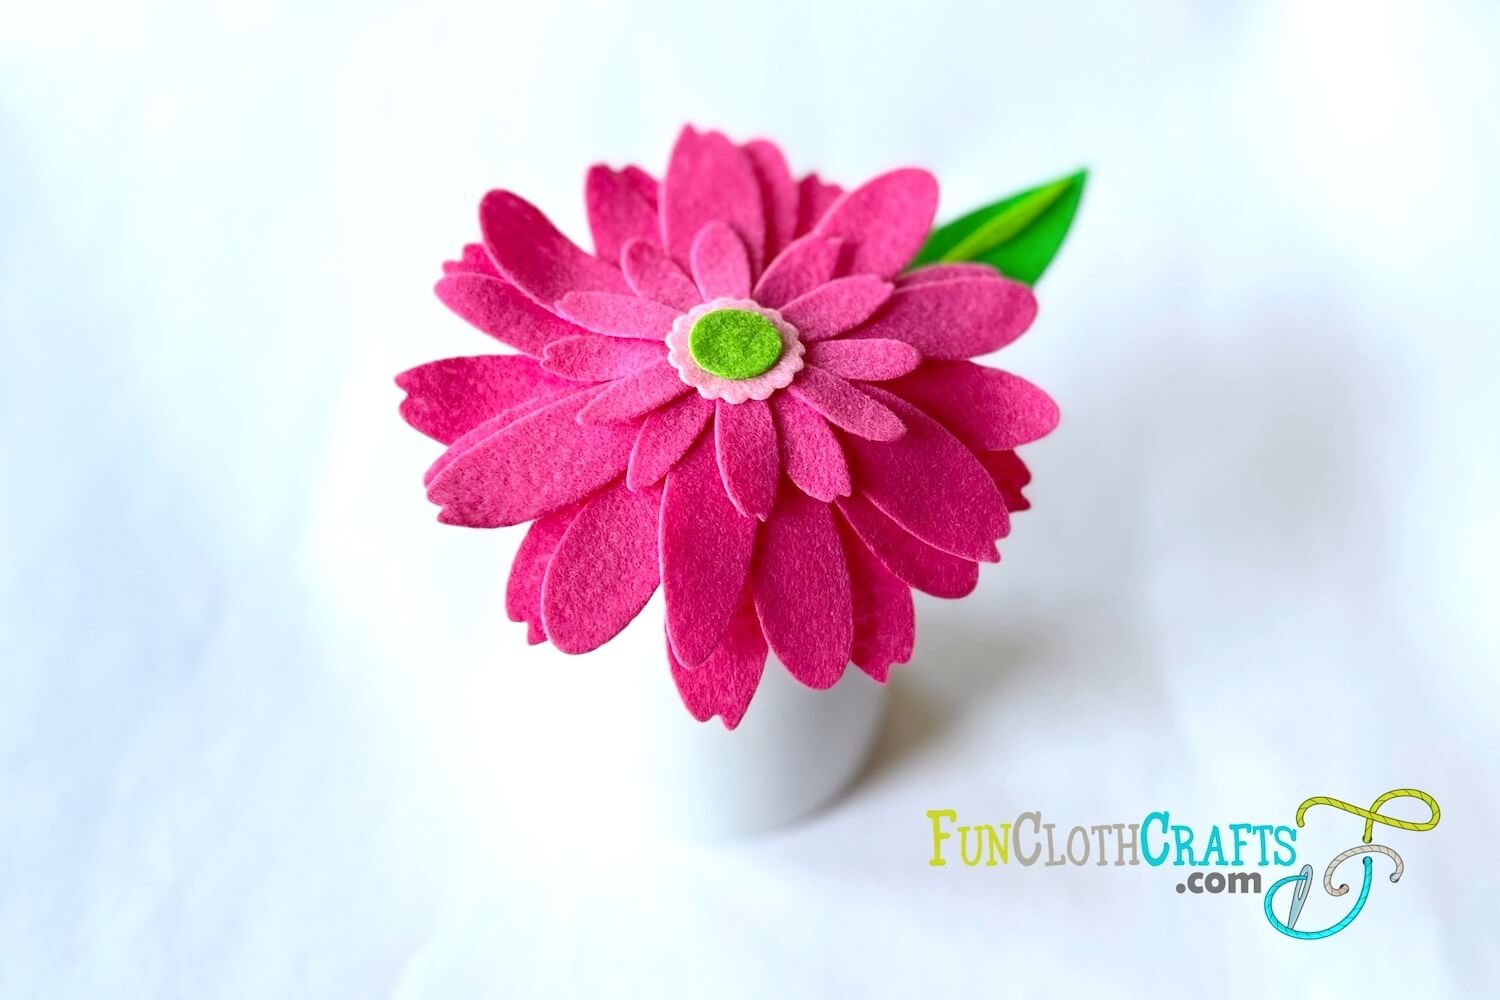
I love my Pink Gerbera Felt Flower
I absolutely adore my Pink Gerbera Felt Flower! It's such a beautiful flower that brings a pop of color and joy. There are so many options of use for the felt gerbera, such as including it in bouquets, decorating wall art, creating a wreath, or even using it as a headband. Its delicate and realistic look is incredibly charming and adds a touch of elegance and happiness to any room or outfit. I love how it brightens my space and lifts my mood whenever I see it. Plus, the felt material ensures it remains durable and long-lasting.
Thank you for creating with me! If you make this pattern, feel free to tag me on social media #funclothcrafts.
Be sure to visit more on this website for free embroidery and sewing tips & tricks to help you out as you stitch my patterns. For free felt patterns, visit my Freebies page.
Let's craft together!
Flower LOVE, Anna